How to Make a Gluten Free Starter
My Sourdough Journey
Have you ever heard that sourdough bread is the gateway into homesteading? Well, I’m here to tell you that it’s the truth! I’ve been gluten free for 25 years, but I didn’t care about where my food came from until about 2011 when my son was born.
Once he came into the world I was very aware of the additives in most gluten free products. I really hated everything that was added in gluten free bread products. There was so much starch added into most bread that I didn’t feel good about my family eating it regularly. This started my journey into trying to make a gluten free sourdough starter.
This was before the big sourdough push, and I hadn’t heard of anyone doing this. I didn’t let it deter me and did had A LOT of trial and error. Mostly error in the beginning, but at least I learned quickly what NOT to do!
At the time I had a 1:1 baking mix that my husband and I created (at the time 1:1 blends weren’t readily available at an affordable price). This showed great promise, but around the two week mark it tended to mold. I tried multiple times with 1:1 flour through the years, and still ended up with the same result. For this reason I DO NOT recommend using 1:1 baking flour. Yes, I know these companies say you can do it….but it won’t yield great results. Plus it’s more expensive!
I tried buckwheat flour next, but it turned pink! It wasn’t mold it was just a chemical reaction that happens. It just weirded me out, so I didn’t like this starter much.
Next I tried brown rice flour, and this was the sweet spot for me! Not only is it cheap, but it yields the most consistent results. As you go down this journey and experiment with flours you may find that some flours are super reactive and rise too quickly, and others are too slow. Brown rice flour was just perfect for me.
Here’s a money saving tip: Brown rice is cheap. Brown rice flour is often quite a bit more expensive. If you have a nice strong blender you can make your own brown rice flour in it! I milled my own flour for about two years using my blender before I upgraded to a grain mill. I wasn’t going to invest in a mill unless this was something I could do regularly.
Starting your gluten free sourdough starter
Starting a gluten free starter may take several attempts. You may find mold at different points, but don’t give up! If you aren’t up for trying you can always snag some of my well established starter in my farm store
This simple recipe generally takes about 5-7 days to complete, but it could take longer. (You can speed up the process if your house is on the cooler side by using a heat mat under your starter. Ideally you’ll keep your starter between 70-80 degrees F) The key to creating a successful starter is patience. Don’t rush the process, and enjoy the little things. Look for the aroma changing to a slightly sour smell and the baby bubbles that emerge.
Day 1: In a pint jar add 25 grams of brown rice flour and 25 grams unchlorinated water. (If you have city water that adds chlorine you can let it sit on your counter overnight to let it dissipate) Mix this up well and let sit covered overnight. (You can use a the lid for the jar, but don’t screw it tight. You can also use a paper towel secured by a rubber band) Mark the level of the mixture with a rubber band, so you can see if the mixture rose.
Day 2: To the 50 gram mixture you will add 50 grams brown rice flour and 50 grams of unchlorinated water. Mix it well. (This is called 1:1:1 feeding: equal parts starter/flour/water) Move your rubber band to the new level on the jar.
At about day three or four, your starter will begin to have an unpleasant odor. (Think stinky socks) Keep going… it will change for the better!
Day 3 Now you start the discard process before your feeding in order to keep your starter happy, but avoiding it getting huge. Once your starter is mature you can keep it in the fridge instead of discarding. For now you’ll want to discard back down to 50 grams. You’ll end up discarding 100 grams of starter (don’t save this to bake because the bacteria isn’t right yet), then feed 50 grams of water, and 50 grams of starter.
Move your rubber band back to the top of your starter line. Now is around when you’ll start to see activity. You may see it looking like cracked earth, or it may have a domed top as it tries to begin rising.
Day 4-14 Repeat the process of day 3 but now feed/discard every 12 hours.
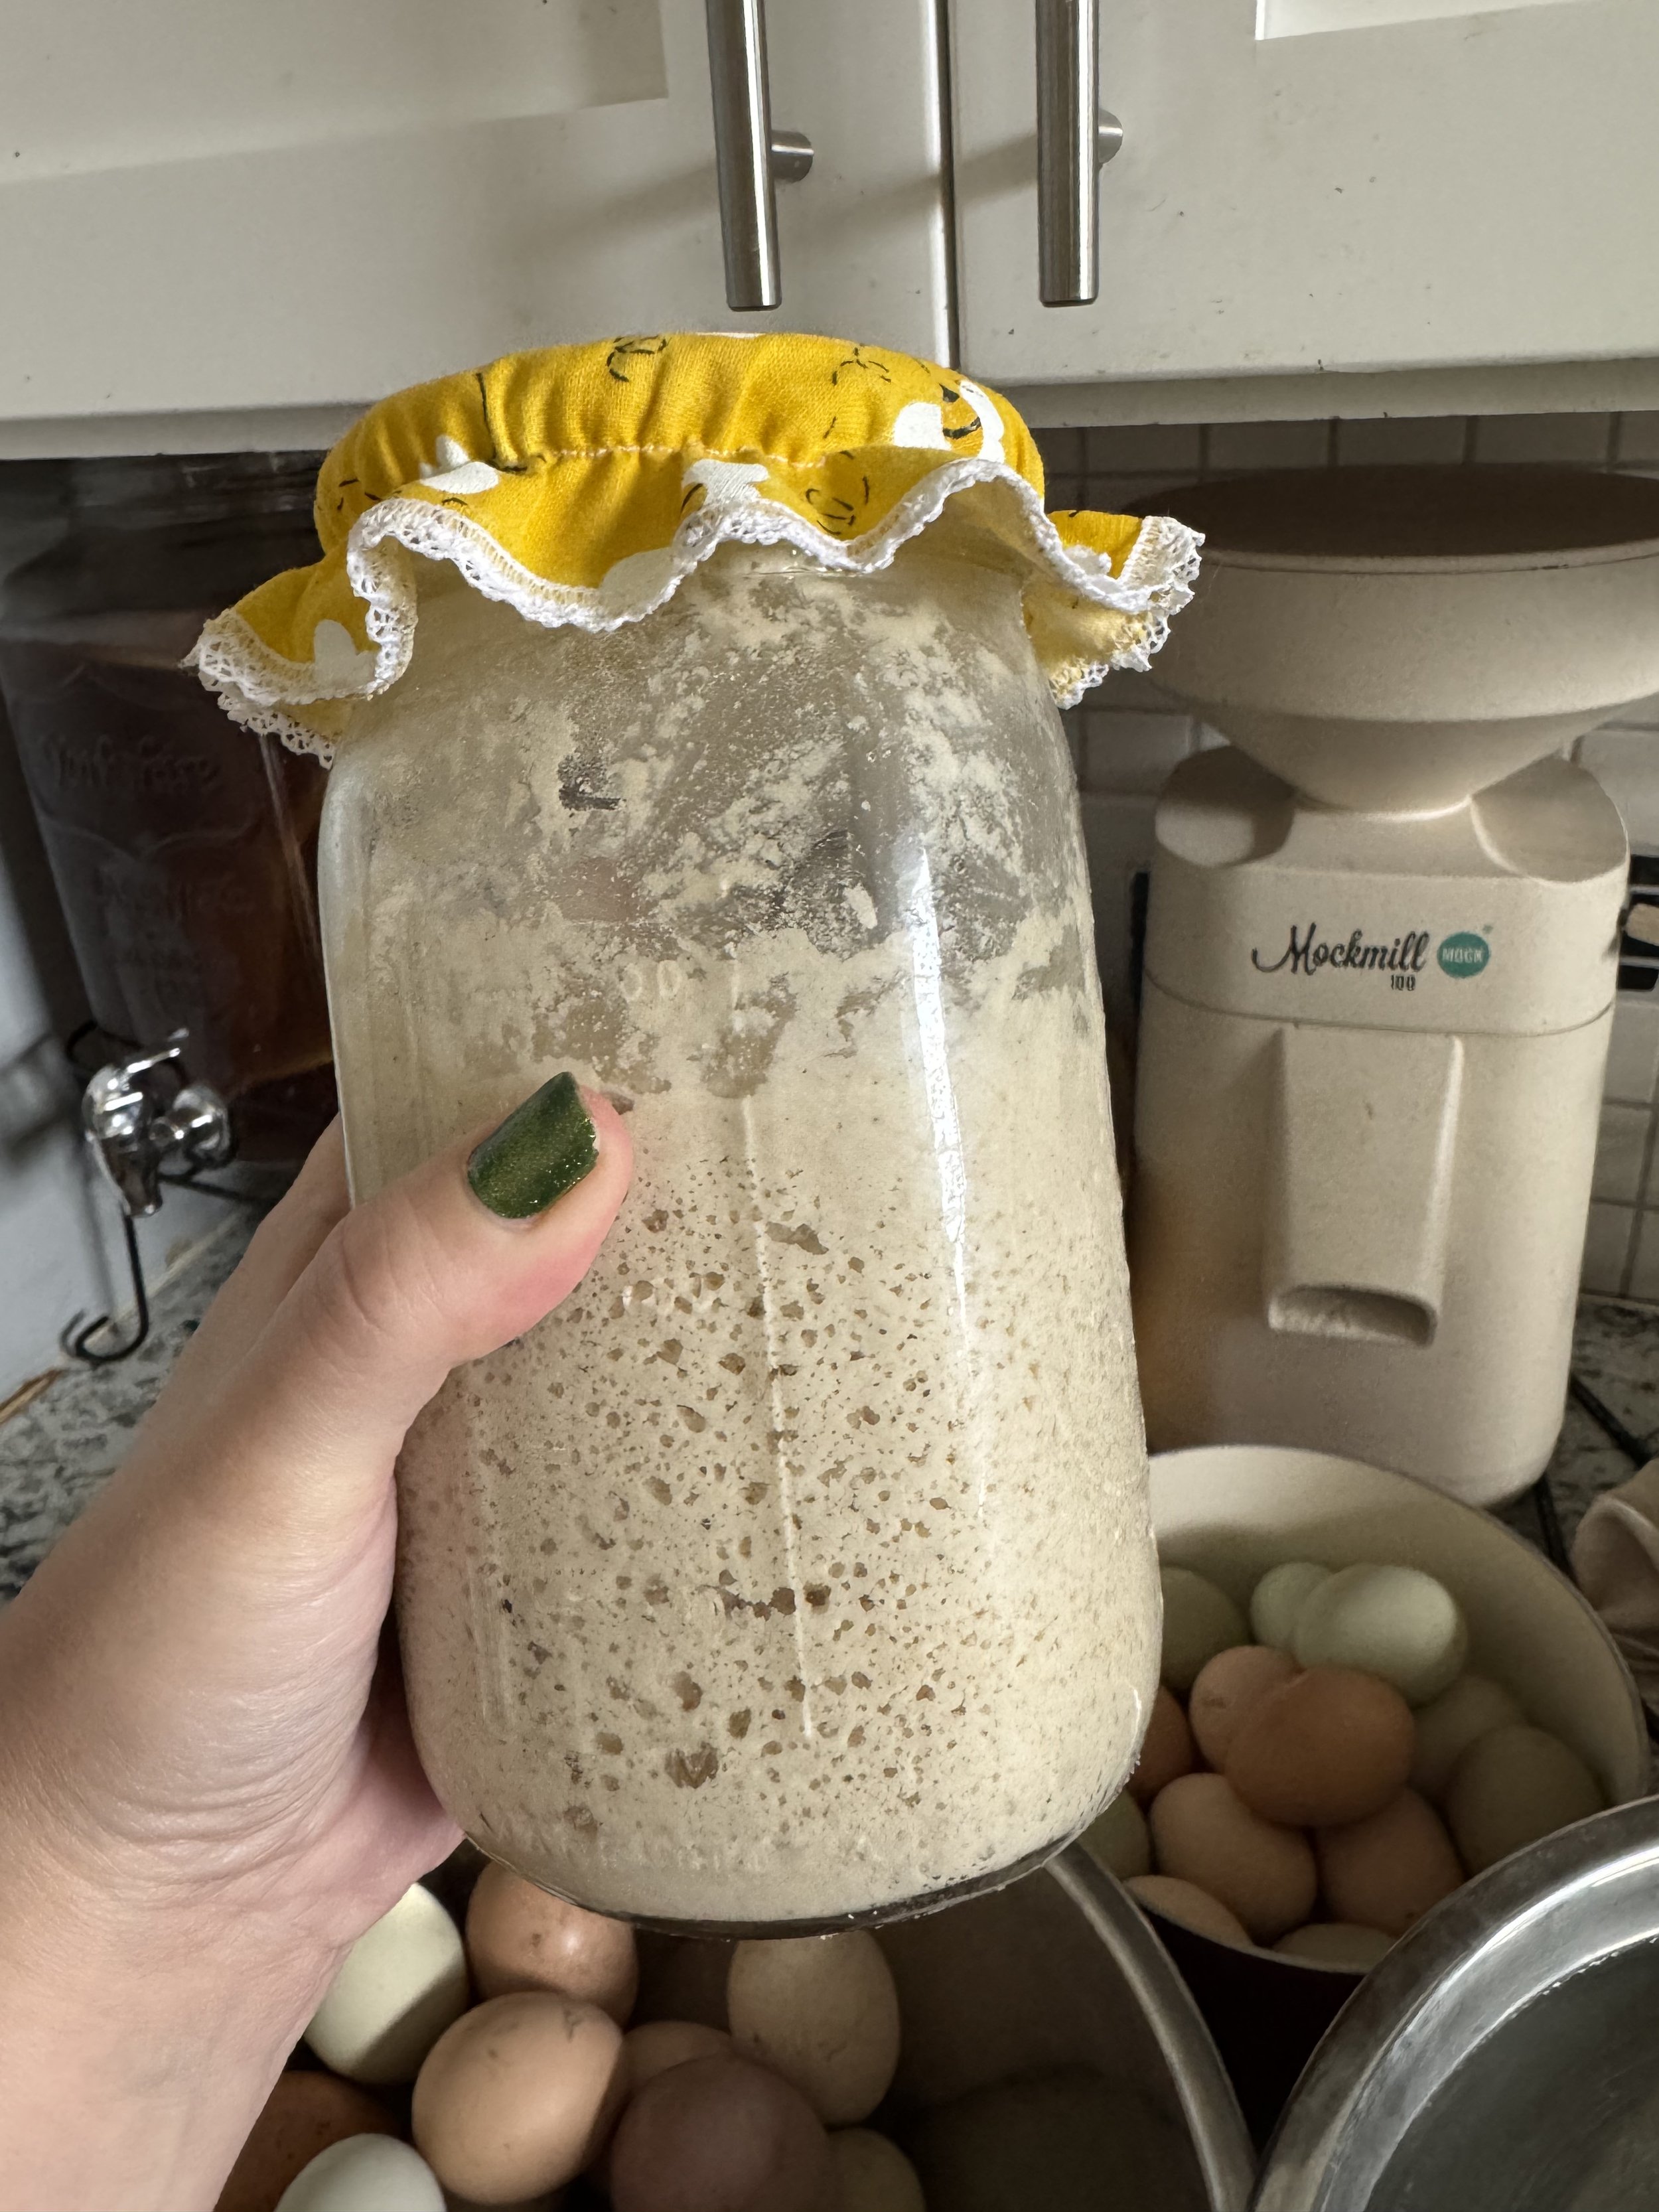
A gluten free starter doesn’t necessarily double in size, but if it gets close to doubling you should be ready to start baking.Note: Time mentioned here is a guide rather than a determining factor for when the starter is ready. Use your senses to determine when it’s ready. Once your starter is puffy, has a sweet-sour aroma and bubbles are present under the surface, your initial starter is ripe or ready.
When you’re ready to try baking bread I have a great EASY recipe available for you in the shop.
Tips and Tricks for Your Starter
As with everything in life, sourdough will throw you unexpected curveballs. Here are some of the common questions I have been asked for help with.
What do I do when my starter begins to act sluggish?
This is an easy fix, and happens to everyone at some point. If your starter isn’t producing the result you’re looking for, or it isn’t rising you just need to add a simple ingredient to a feeding. You can add a splash of apple cider vinegar or honey into your starter. This just gives it a bit of a sugar boost to make it active again. Personally I prefer adding ACV because it keeps the starter vegan for when I bake for vegan friends.
Why do I have a layer of liquid on top of my starter?
This liquid is referred to as hooch. When you see hooch it generally means your starter is hungry. Hooch is sour, and you have two options on how to deal with it. One would be to mix back into your starter if you like it to be a bit more sour. The other option is just dumping the hooch out of your jar.
I messed up my starter and there’s mold on it. Do I really have to start over?
Unfortunately, the answer is yes….but there is a way to avoid this happening again! Once your starter is established take a bit of the discard and freeze it. Then it’s there when you inevitably mess up (we all do it). As your starter gets older and stronger, replace that frozen bit with a bit of discard from the stronger starter. Then as time goes by keep doing this, and you’ll always have a fail safe.